Exactly to size
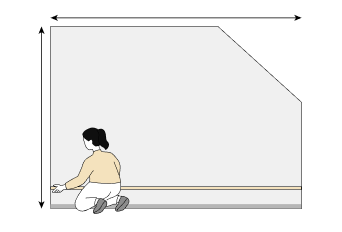
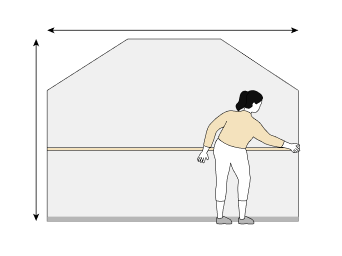
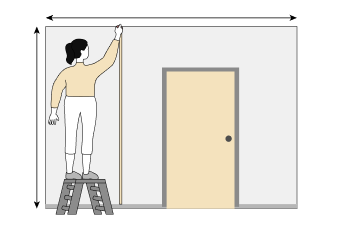
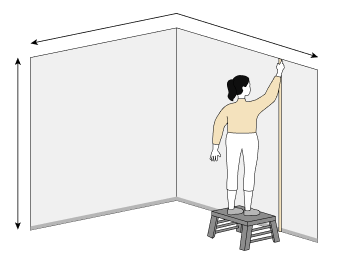
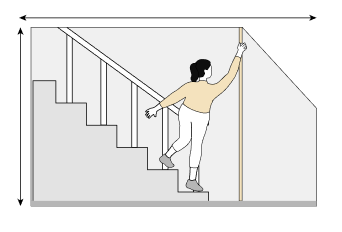
Made to your wall’s dimensions.


 Bucket
Ruler
Bucket
Ruler
 Pencil
 Wallpaper brush
 Roller
 Level
Level
 Utility Knife
 Brush
Brush
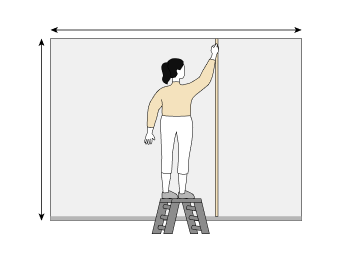
• When installing the first panel, start from the left and work to the right while facing the wall. Use a spirit level to mark a plumb line one panel width on the wall to ensure the first panel hangs straight, which is also key to installing the whole mural successfully.
• After lightly positioning the panel on the wall, start at the top. Use a utility knife to cut the release paper in that section. Carefully press the panel to the wall. Use a smoothing brush to apply light pressure and remove any air bubbles beneath it. Continue peeling the rest of the panel and setting it against the wall. During installation, keep using the smoothing brush to ensure even adhesion and remove any irregularities.
• By following these steps and using the smoothing brush throughout, you will ensure the wallpaper sits flush to the wall without unwanted air bubbles. The best method is light pressure downward and outward, starting from the center.
• When installing the remaining panels, overlap them so they lay one over the other; our wallpapers have an extra 2.5 cm overlap on each side for the double-cut seam (paperhanger's cut), which ensures a neat join.
• Repeat the previous steps until the mural is complete. After the whole process, use a utility knife to trim any excess along the side walls and at the top and bottom, using a straightedge as a guide.
• Even after removing air with the smoothing brush, finish by removing any remaining air with a microfiber cloth that you have moistened in water and wrung out well.
Bucket
Ruler
Pencil
Wallpaper brush
Roller
Level
Utility Knife
Brush
• When installing the first panel, start from the left and work to the right while facing the wall. Use a spirit level to mark a plumb line one panel width on the wall to ensure the first panel hangs straight, which is also key to installing the whole mural successfully.
• After lightly positioning the panel on the wall, start at the top. Use a utility knife to cut the release paper in that section. Carefully press the panel to the wall. Use a smoothing brush to apply light pressure and remove any air bubbles beneath it. Continue peeling the rest of the panel and setting it against the wall. During installation, keep using the smoothing brush to ensure even adhesion and remove any irregularities.
• By following these steps and using the smoothing brush throughout, you will ensure the wallpaper sits flush to the wall without unwanted air bubbles. The best method is light pressure downward and outward, starting from the center.
• When installing the remaining panels, overlap them so they lay one over the other; our wallpapers have an extra 2.5 cm overlap on each side for the double-cut seam (paperhanger's cut), which ensures a neat join.
• Repeat the previous steps until the mural is complete. After the whole process, use a utility knife to trim any excess along the side walls and at the top and bottom, using a straightedge as a guide.
• Even after removing air with the smoothing brush, finish by removing any remaining air with a microfiber cloth that you have moistened in water and wrung out well.
Made to your wall’s dimensions.
Custom design to your specification.
Designed and printed in the EU.
Certified textures, pleasant to the touch.
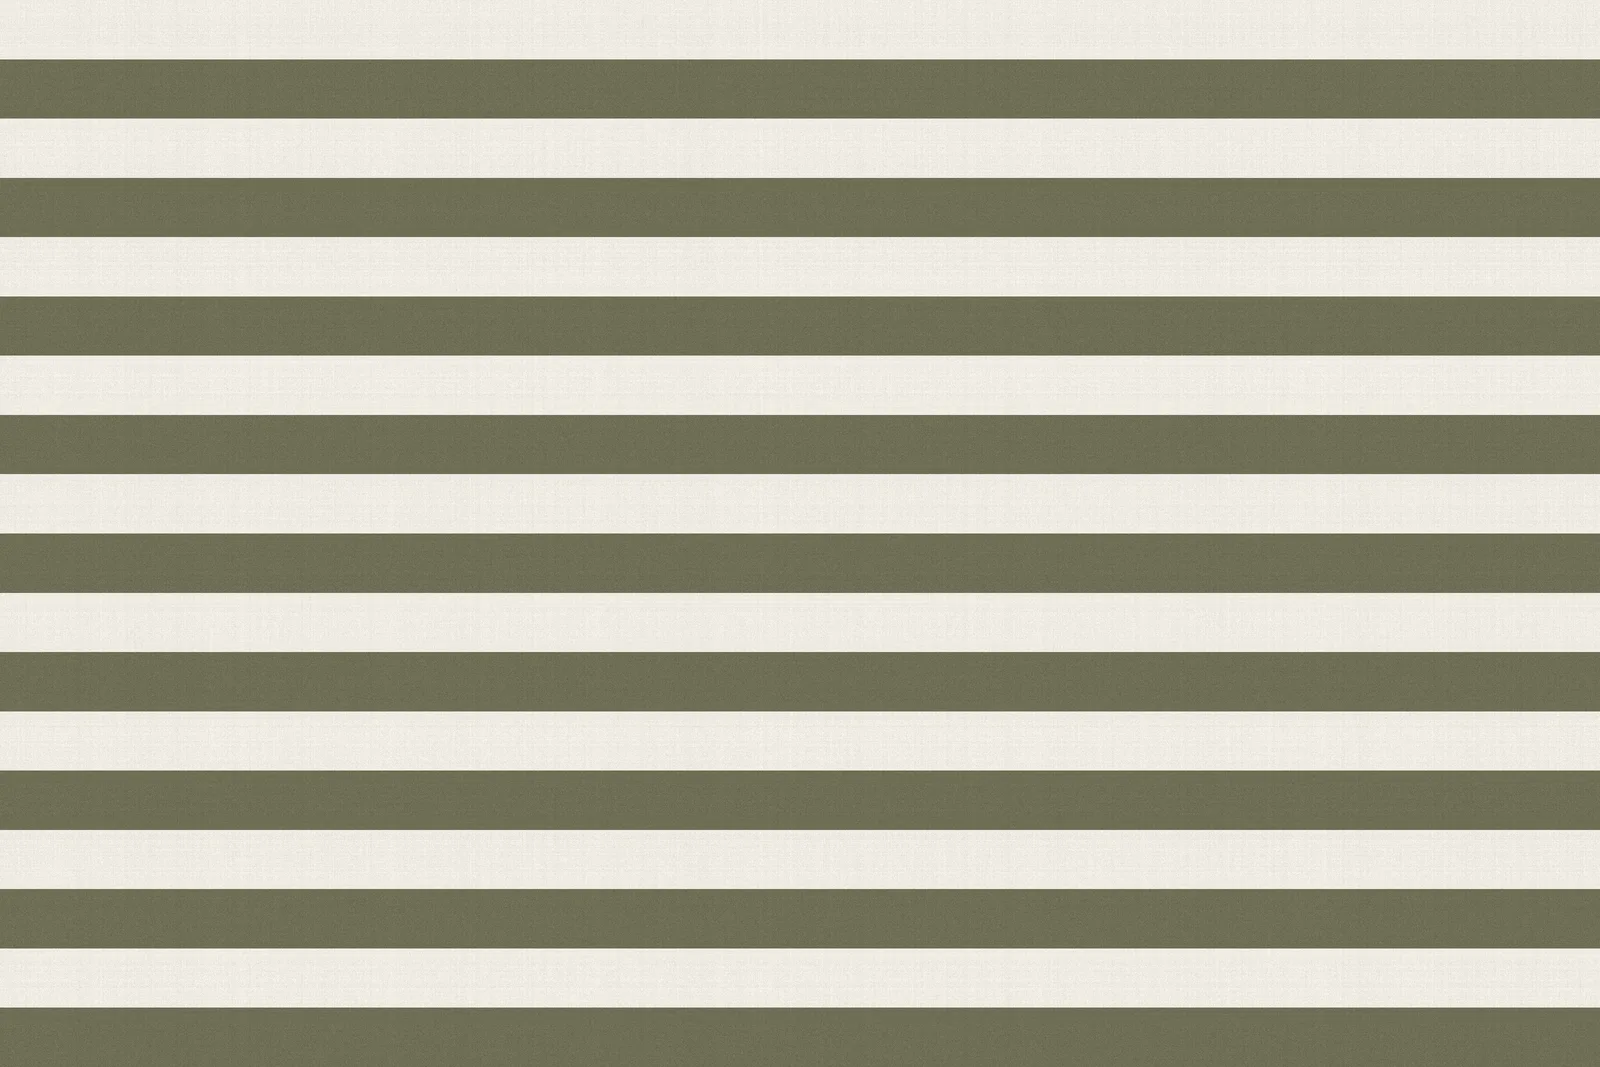
Drag the slider to see your wall transform. For your own space, send us a photo — we’ll return a visualisation within 24 hours.
Request a visualization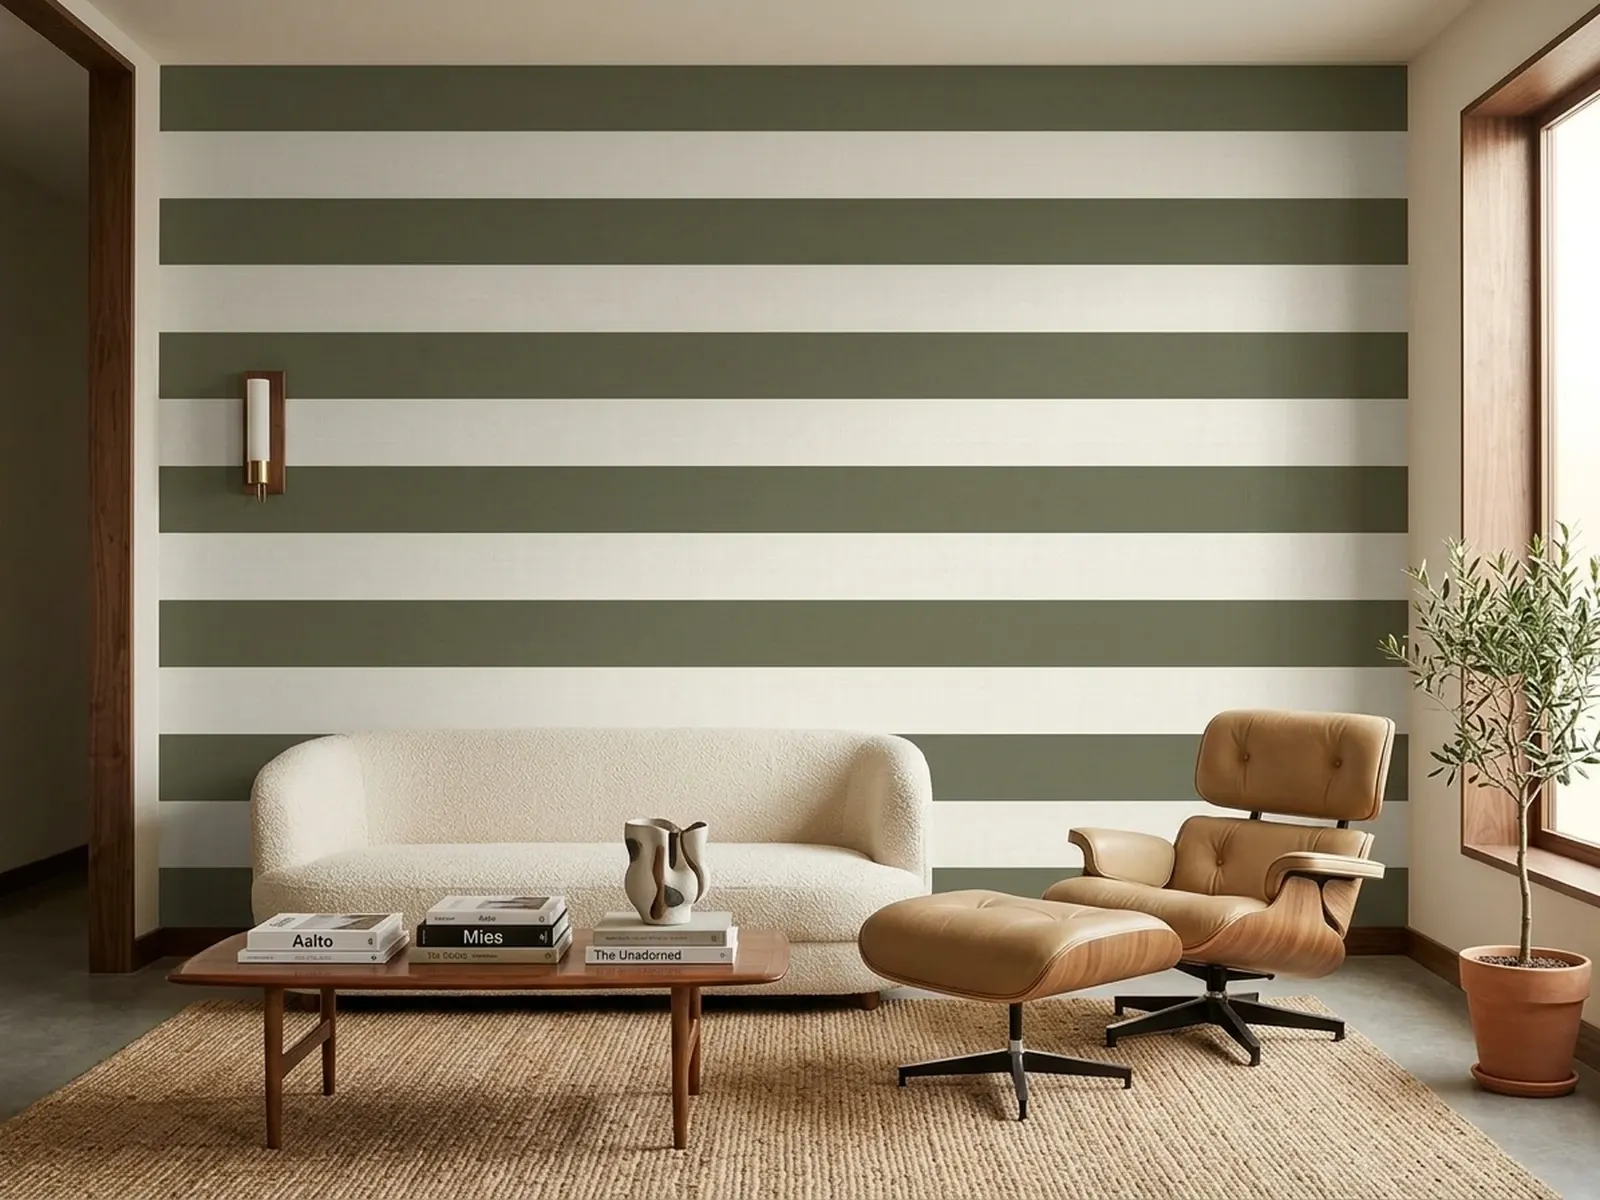
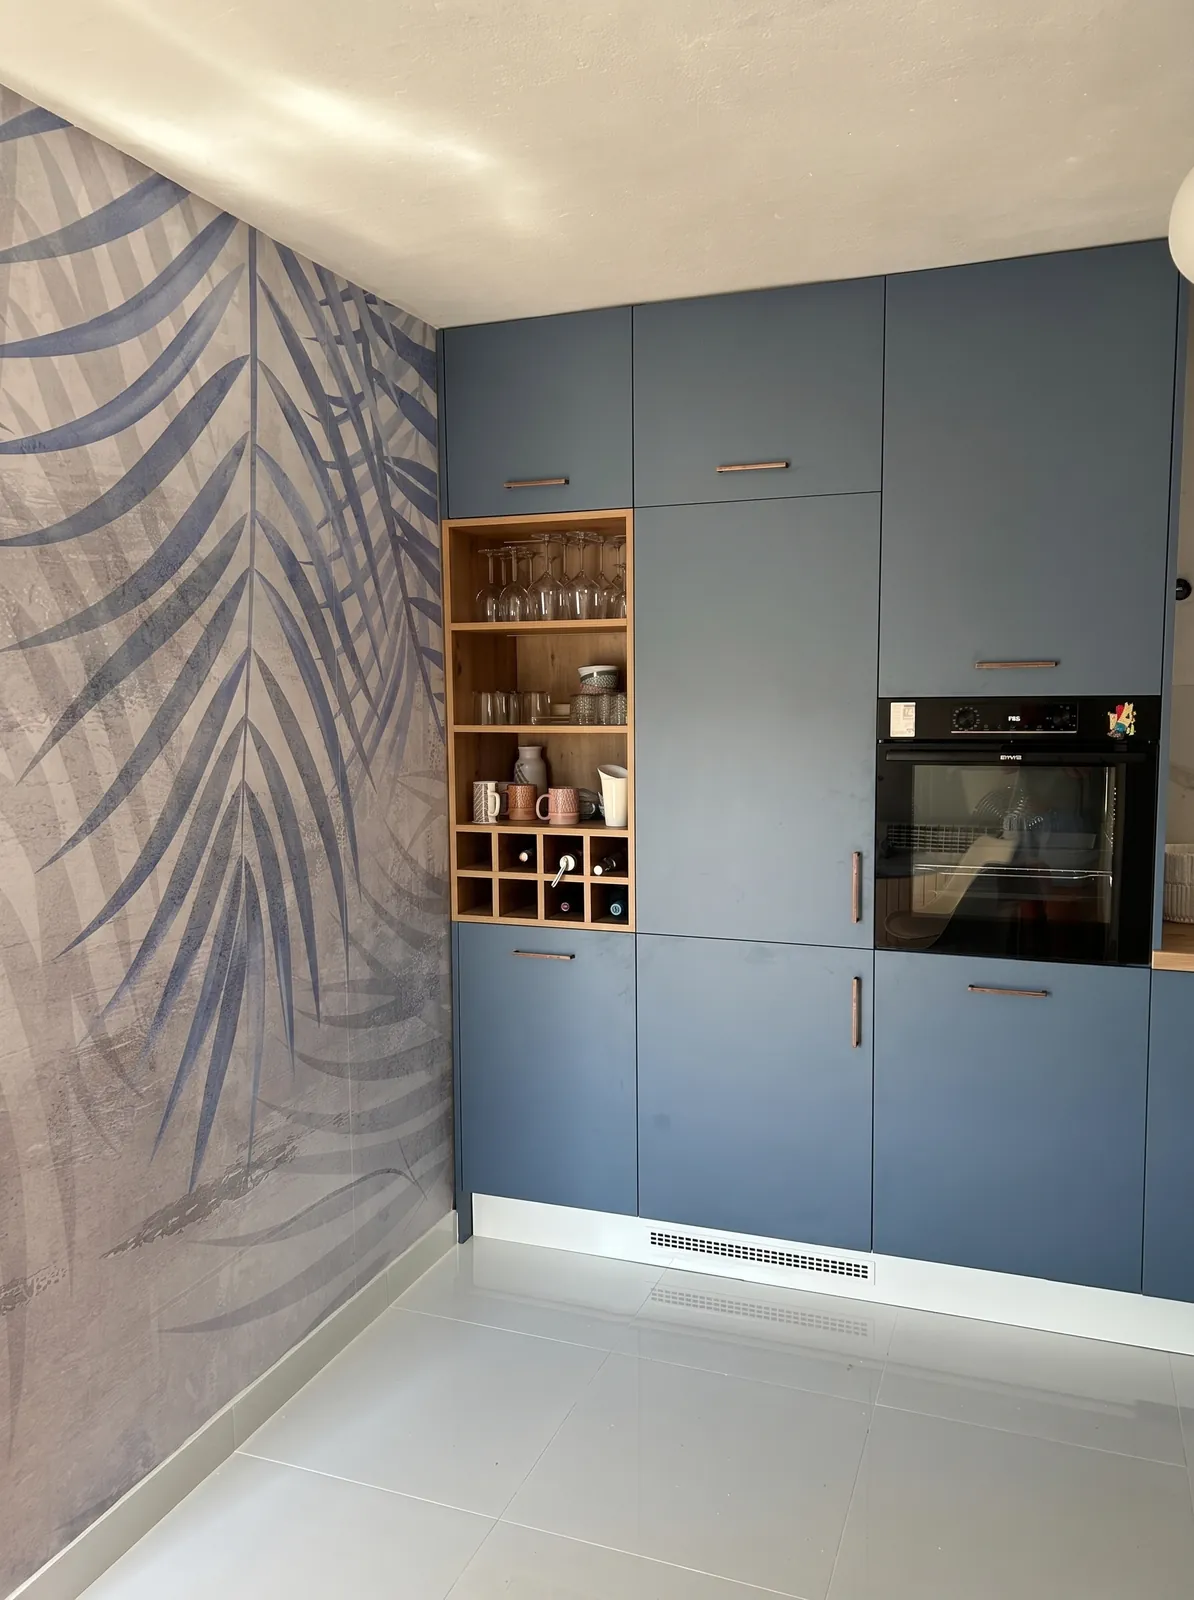
Jedan motiv kroz cijeli stan — zlatni palmini listovi u kupaonici, ružičasti u dnevnom boravku i pl…
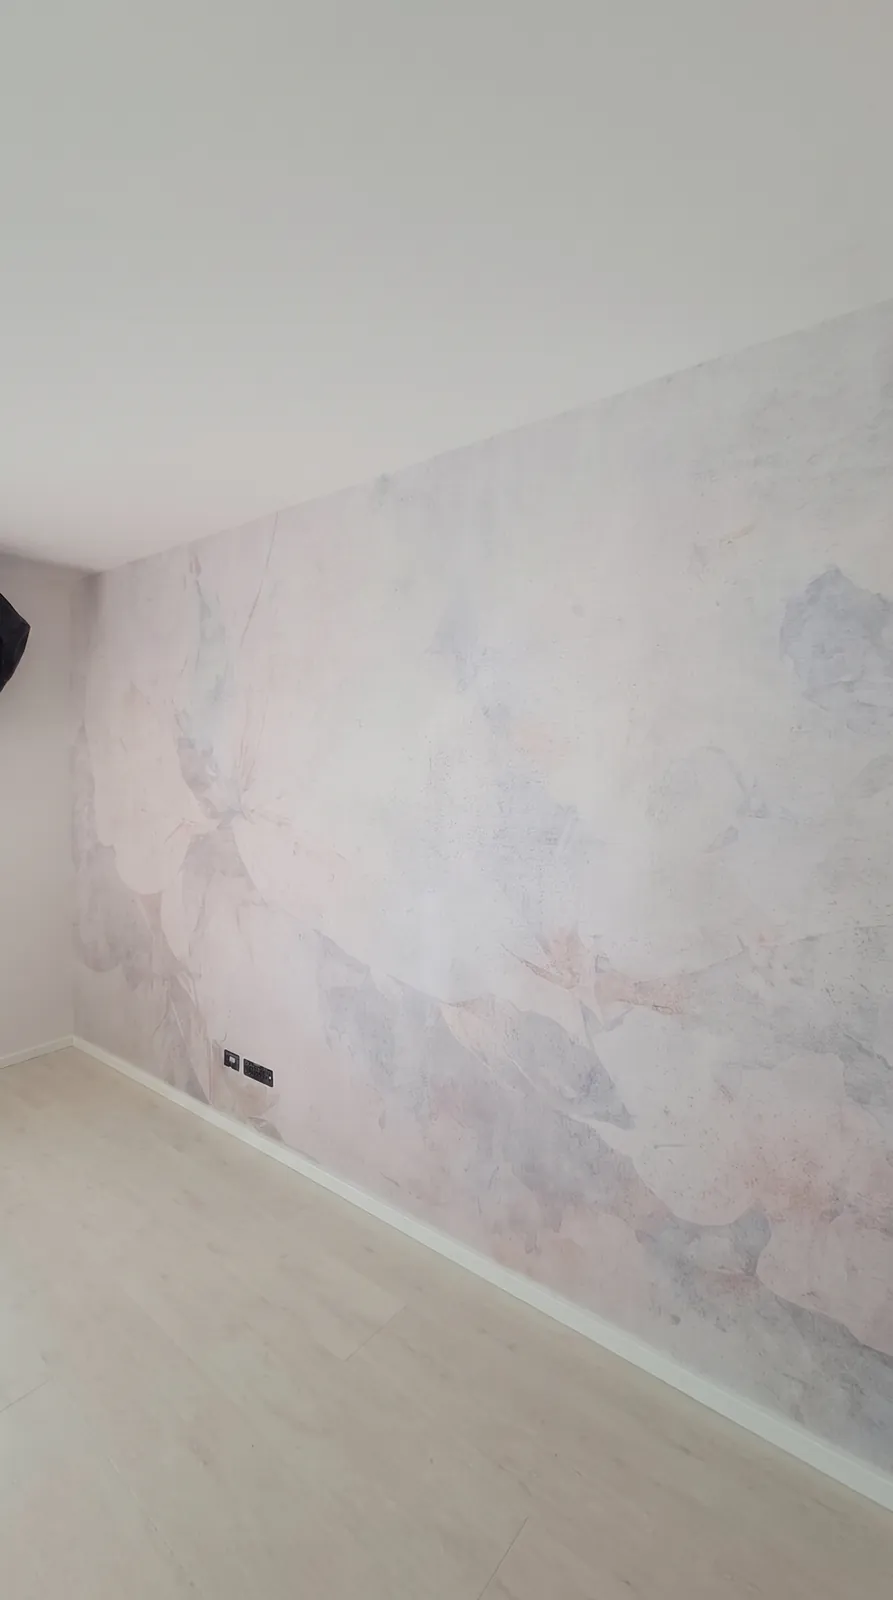
Suptilni cvjetni mural u blijedo ružičastim tonovima.
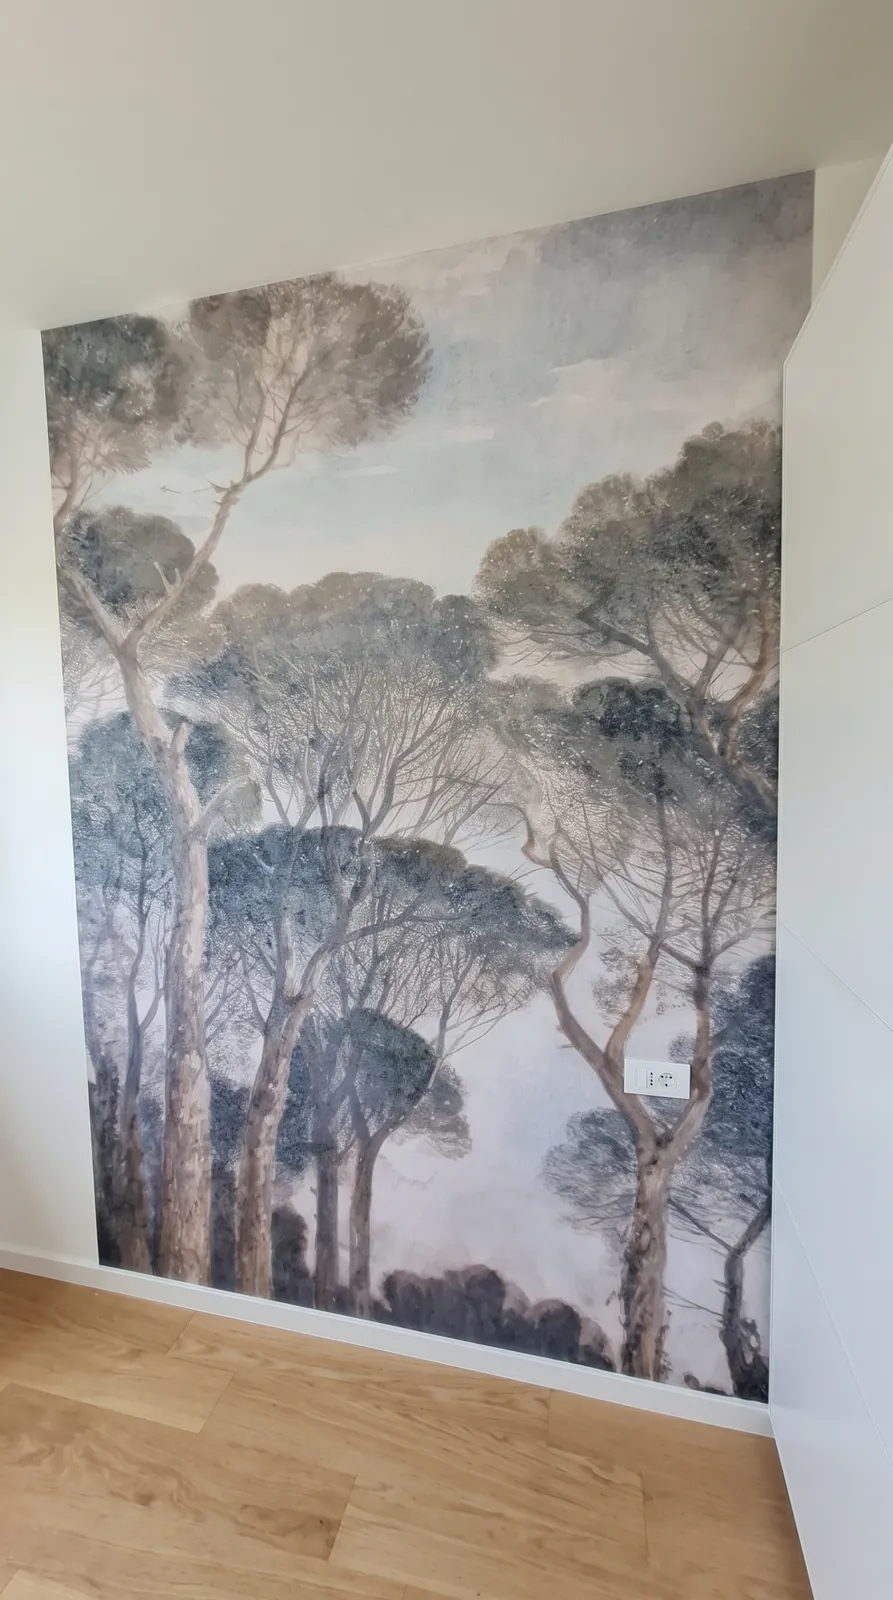
Tamni borovi u klasičnom slikarskom stilu — spavaća soba.
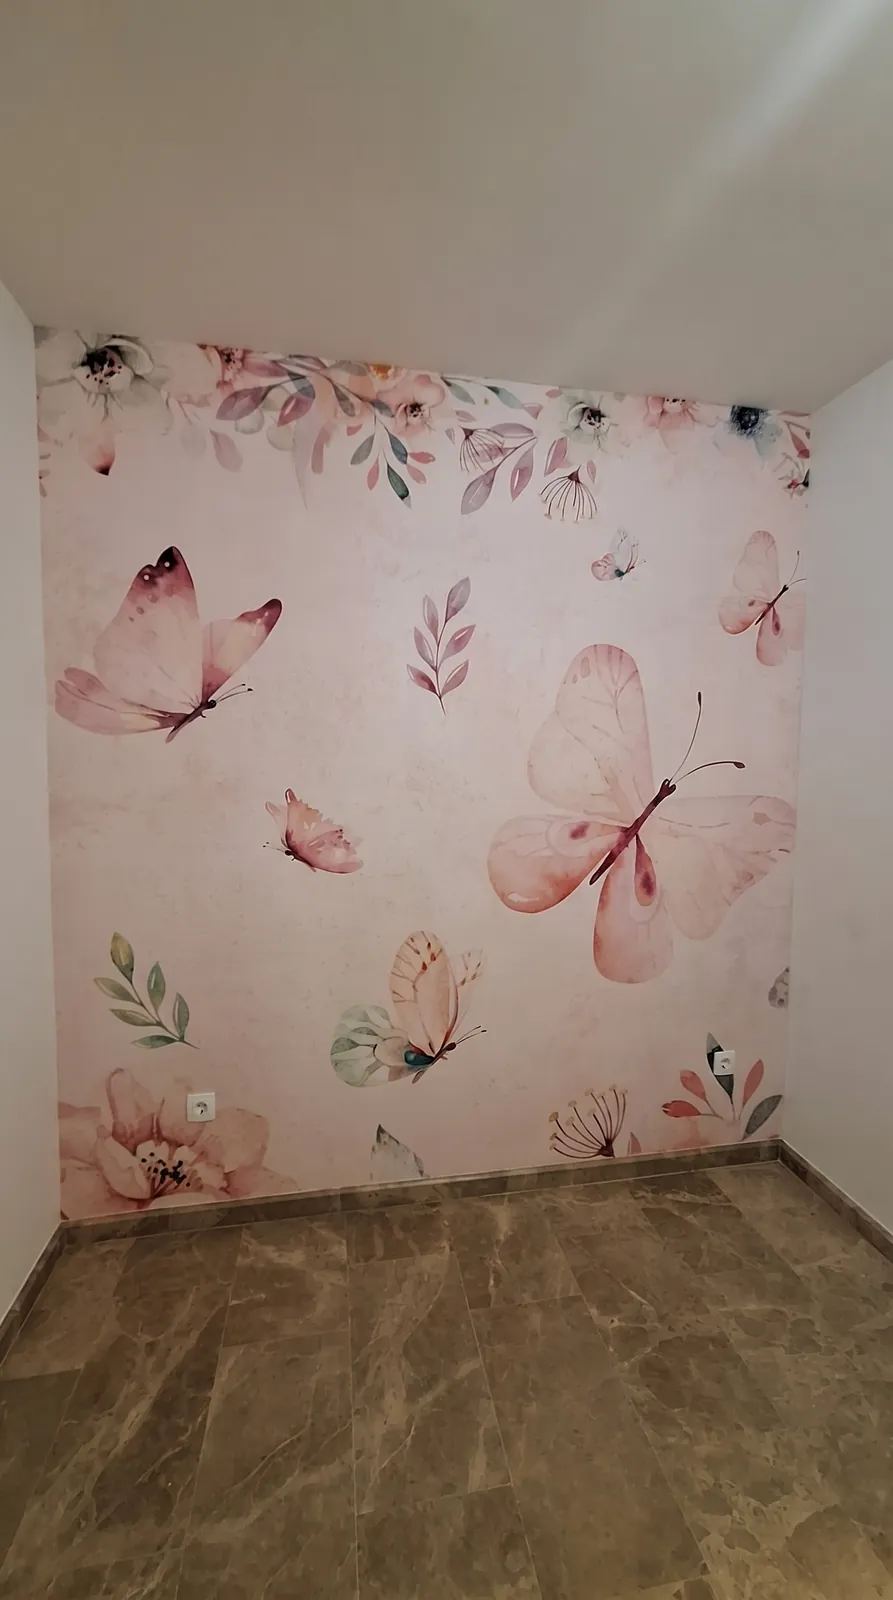
Ružičasti leptiri u dječjoj sobi s mramornim podom.
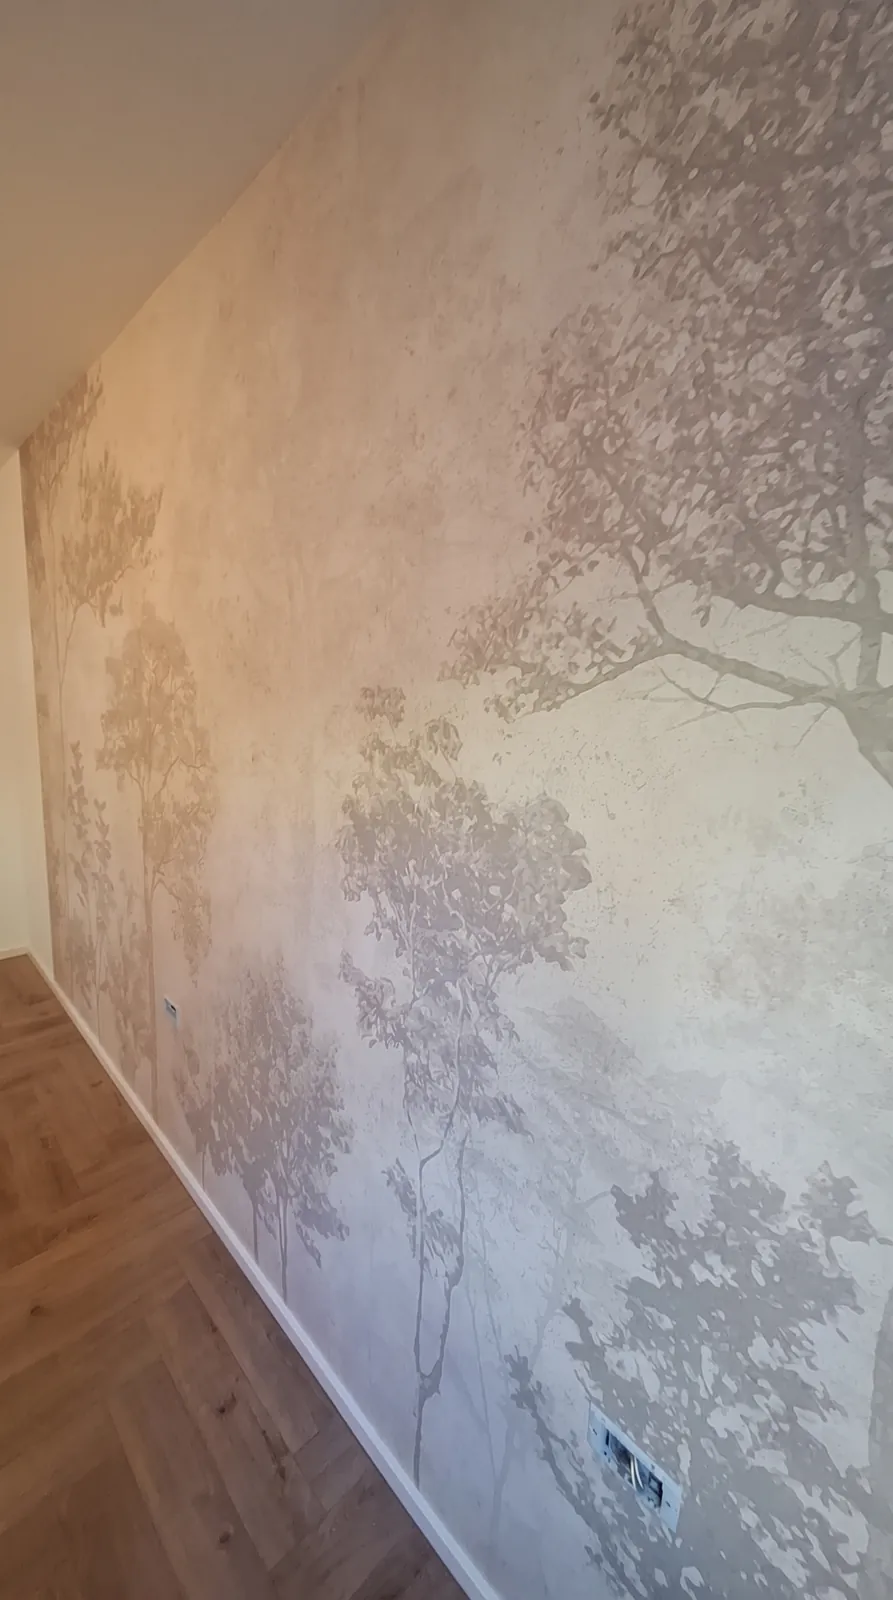
Maglovita šuma u bež tonovima — spavaća soba i potkrovlje.
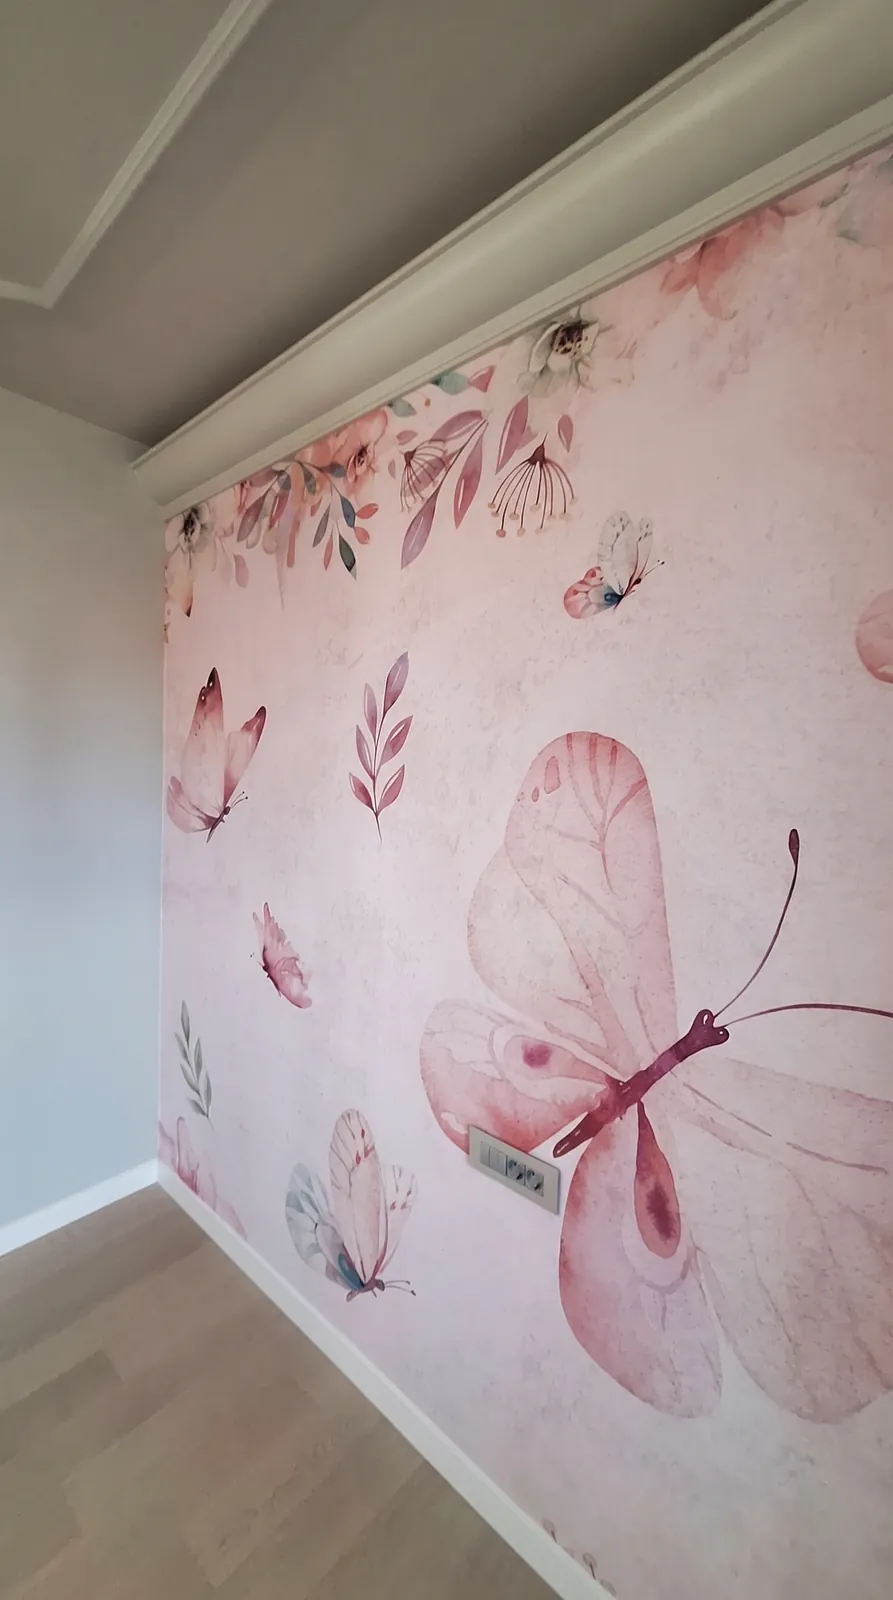
Ružičasti leptiri u dječjoj sobi — isti stan, dječja soba.
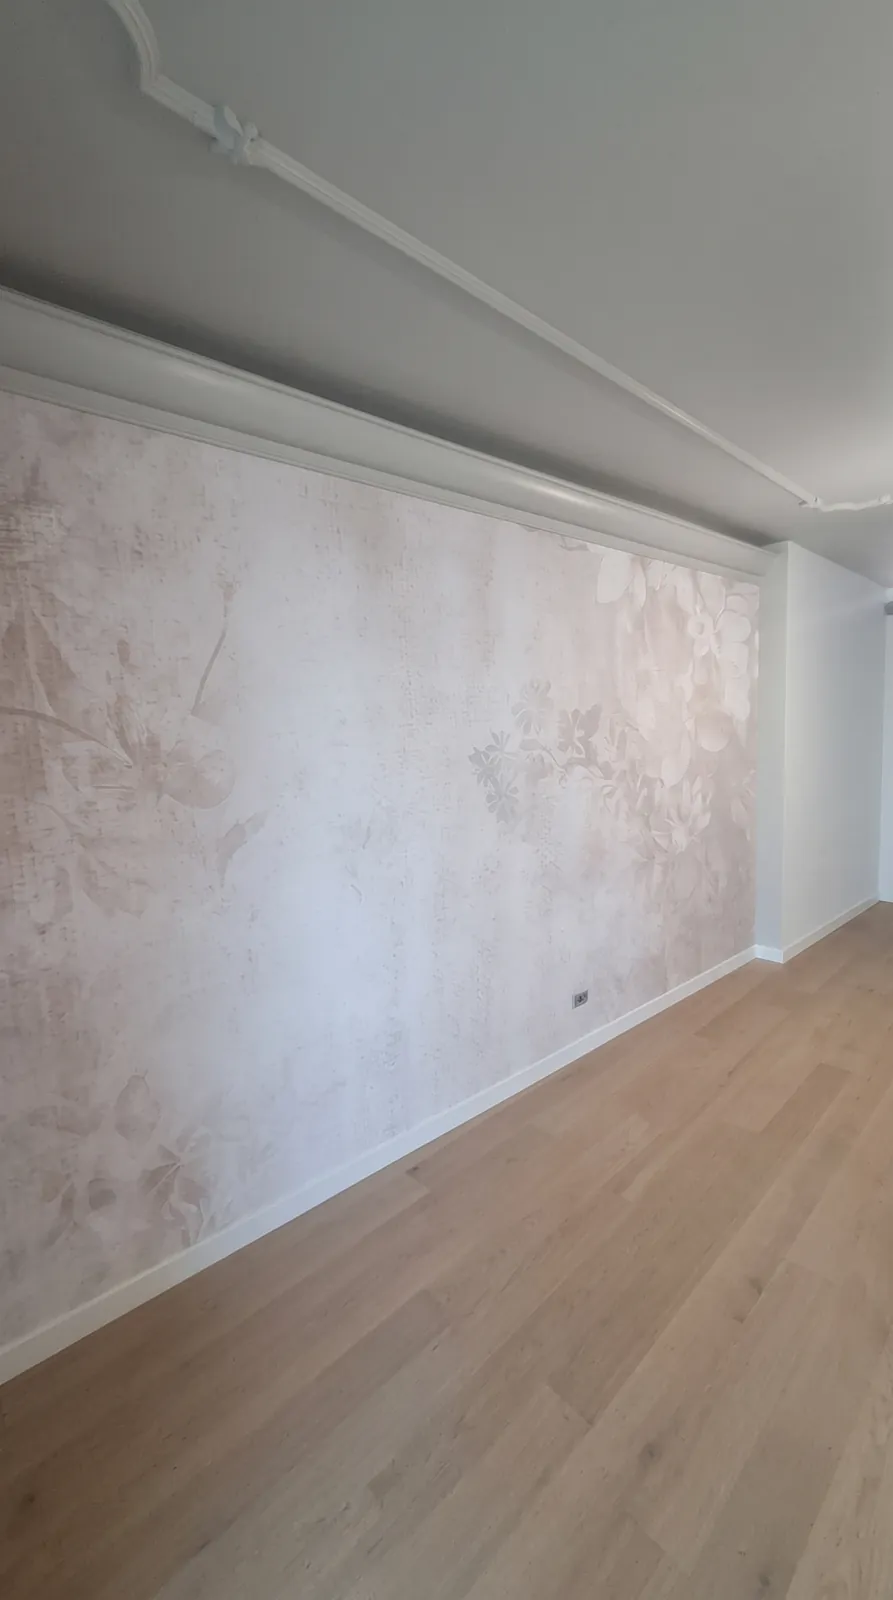
Suptilna cvjetna tekstura u stanu s klasičnim štukaturama.
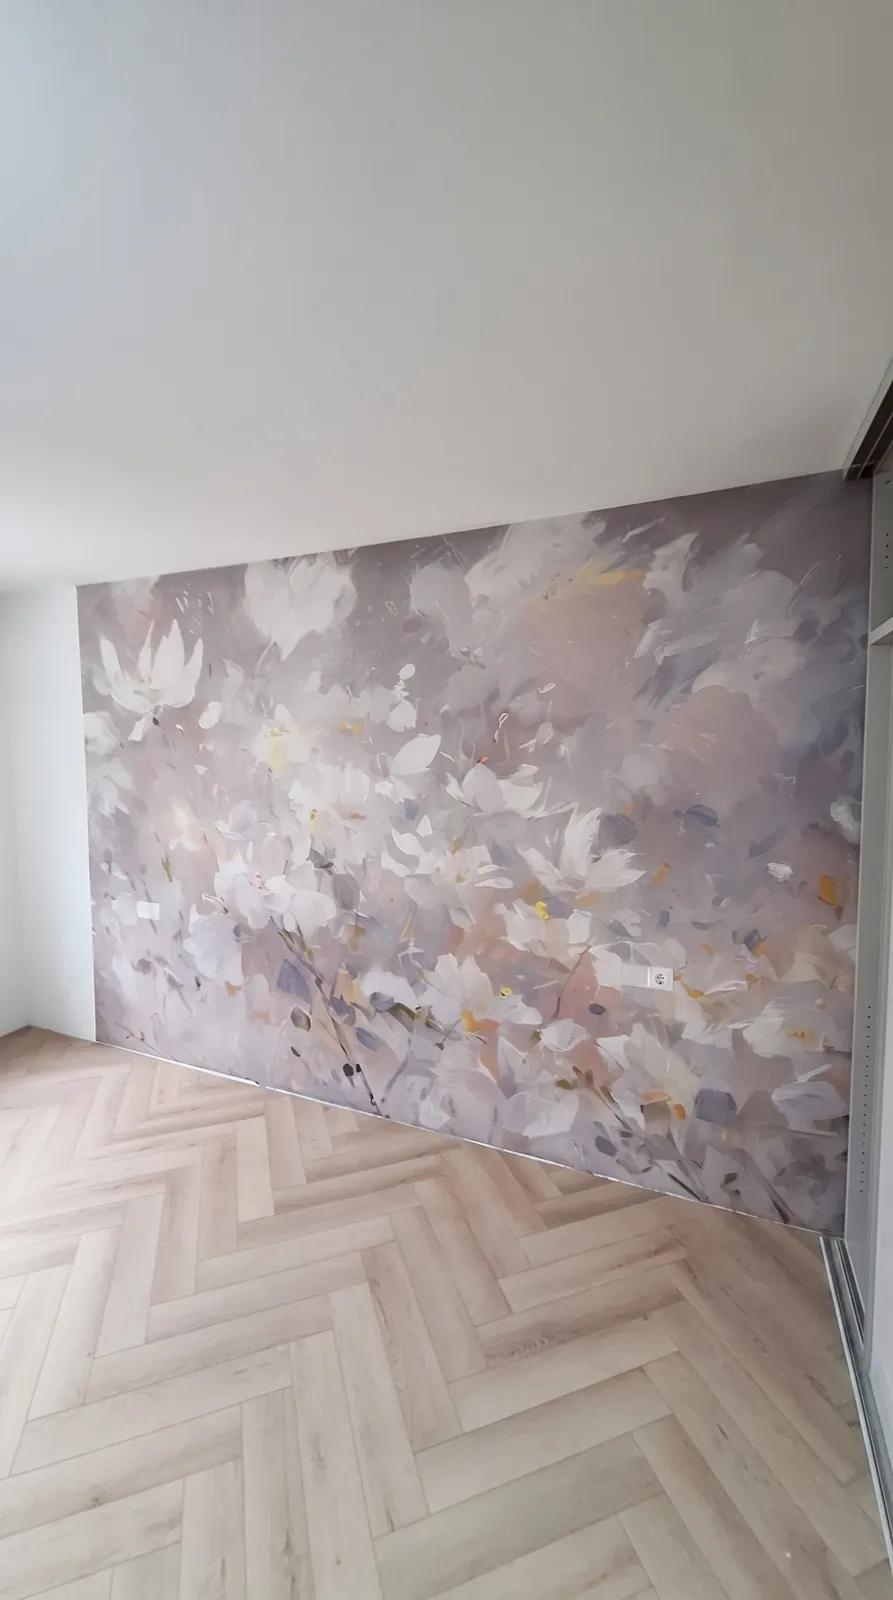
Bijele magnolije na sivo-ružičastoj podlozi u spavaćoj sobi s riblja-kost parketom.
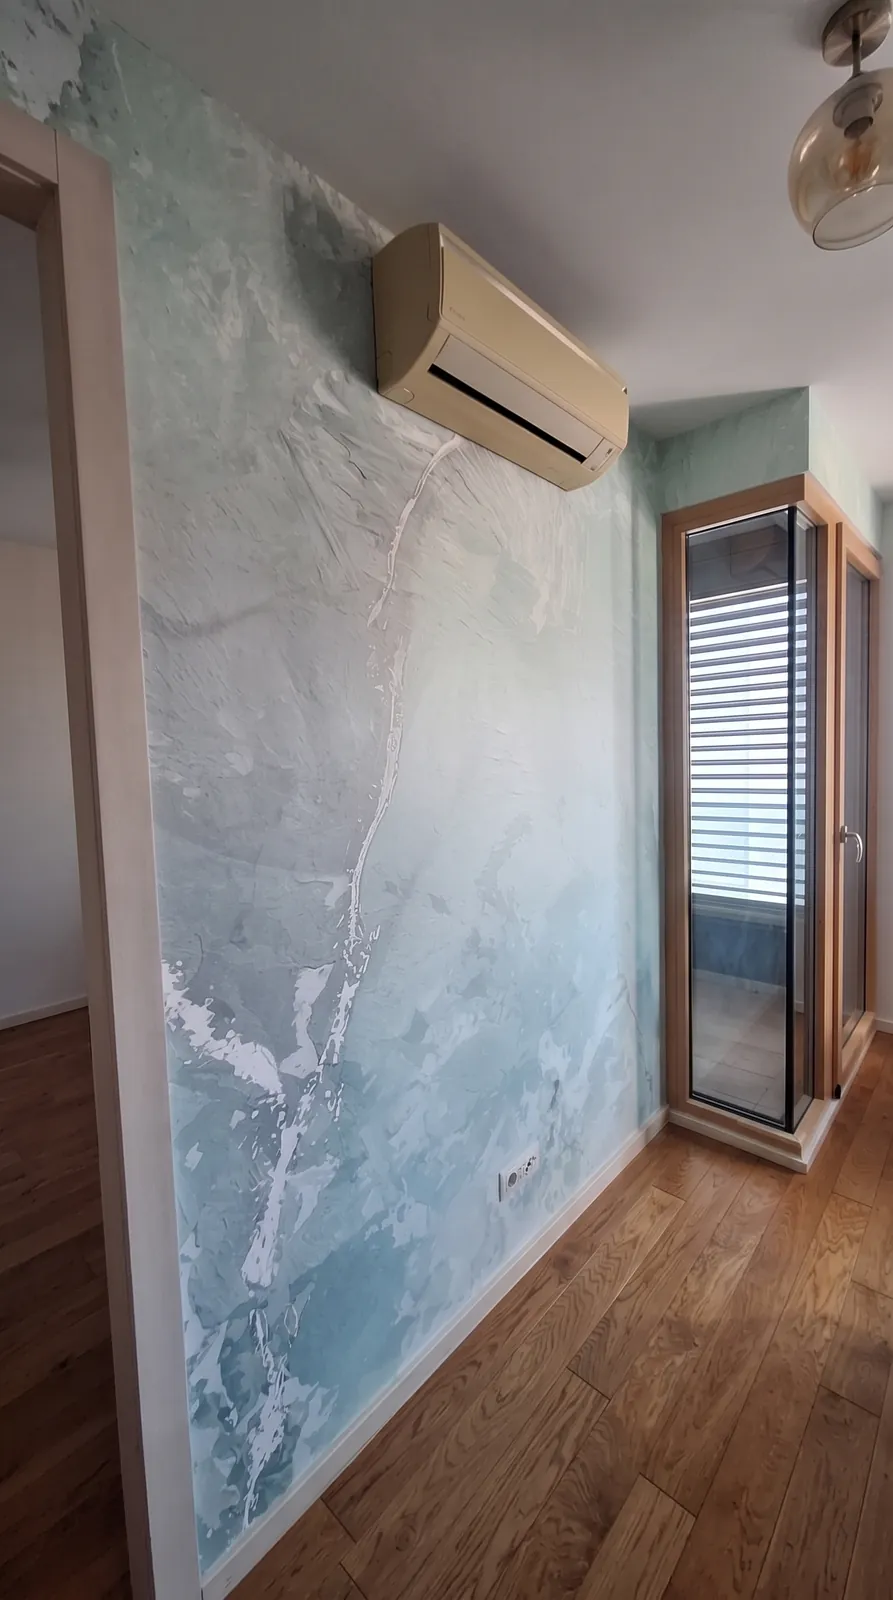
Apstraktni mramorni mural u tirkiznim tonovima sa zlatnim venama — potkrovlje i hodnik.
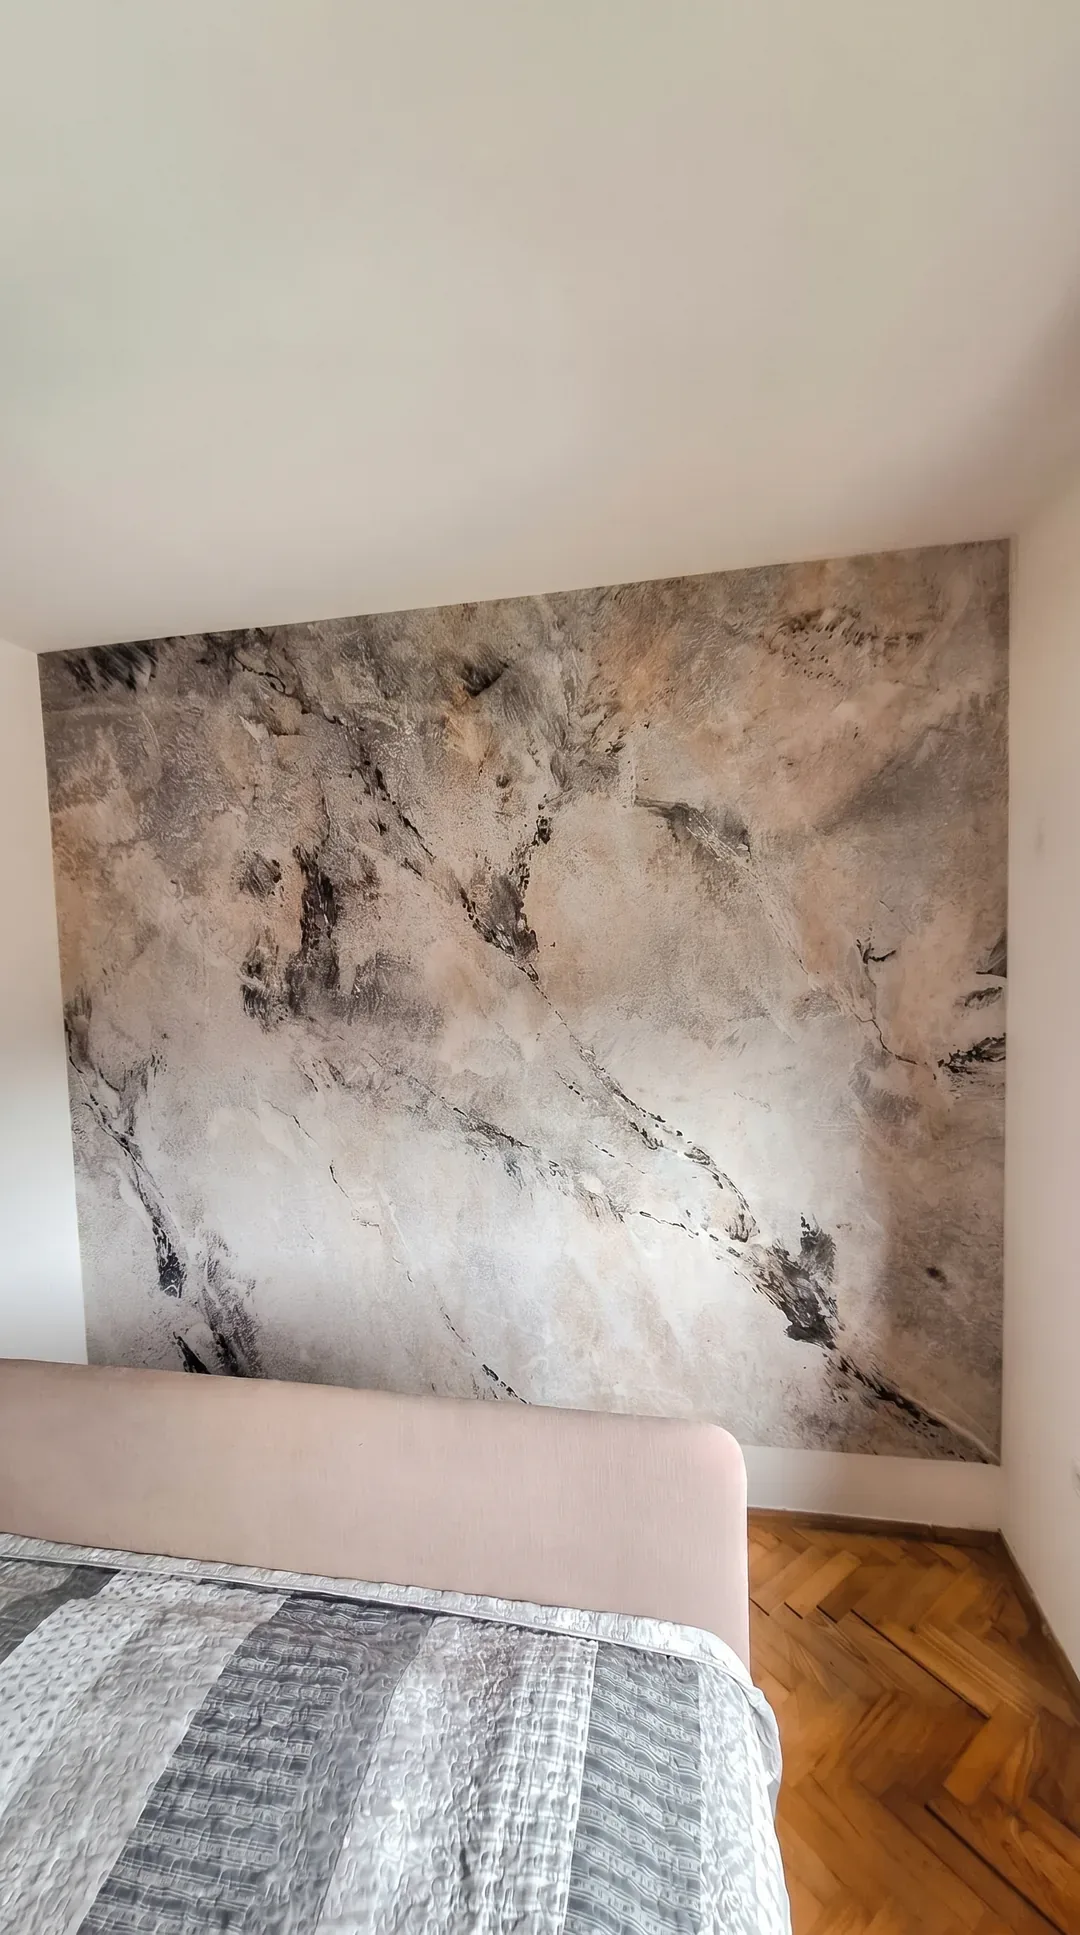
Bedroom
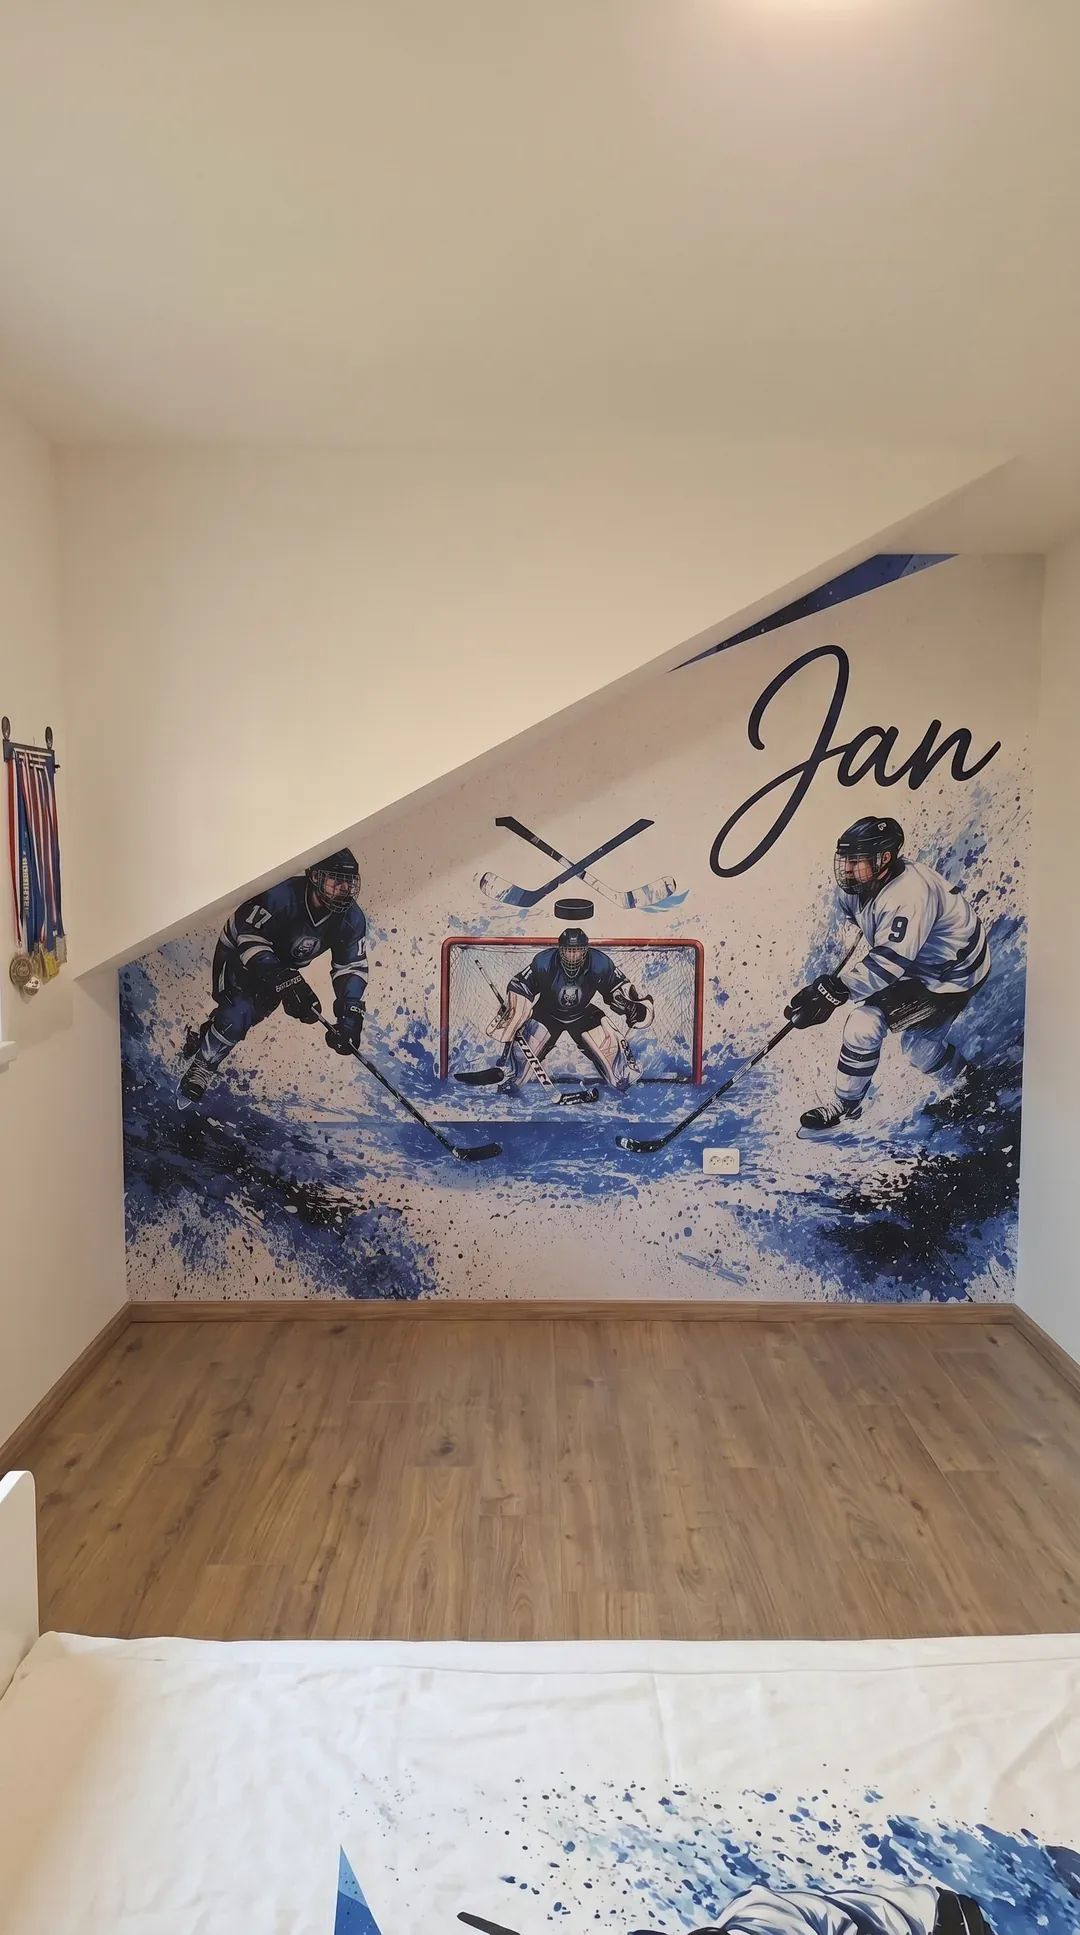
Children's Room
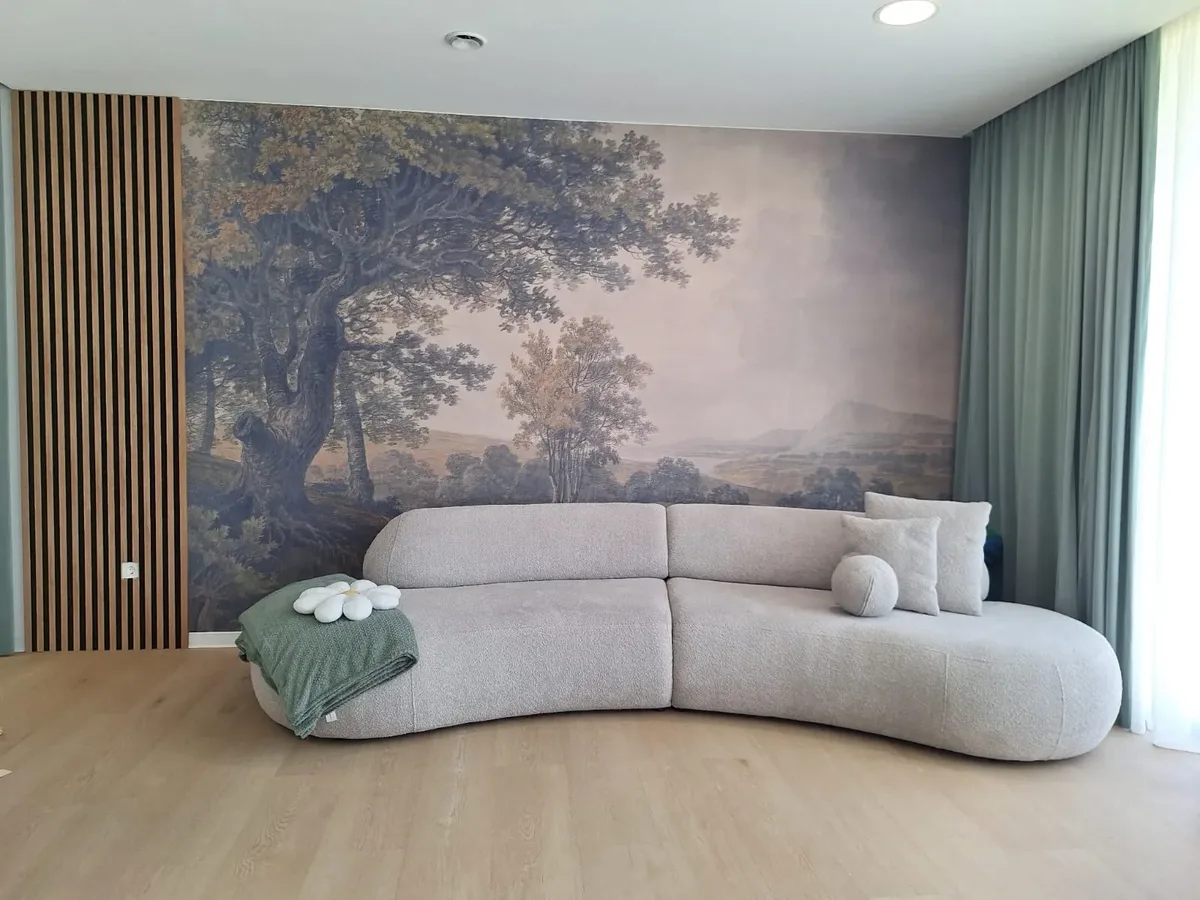
Living Room
Each piece has passed through the hands of clients who know exactly what they want.

A clear overview of the design character and material composition.
Tiskamo na profesionalnim podlogama — od eko, prozračne obrade za stambeni mir do robusnih vinila s vatrootpornom i pomorskom certifikacijom.

We print, cut and inspect every order by hand in our studio near Zagreb. Consultation, ordering and shipping are handled from Austria — short distances, one point of contact, EU-wide delivery.
We prepare every drop with an overlap for a double cut. On the wall, two adjacent drops are cut simultaneously — in a single pass of the blade — so the seam disappears and the pattern flows uninterrupted.